* All posted yardage is from the back tees
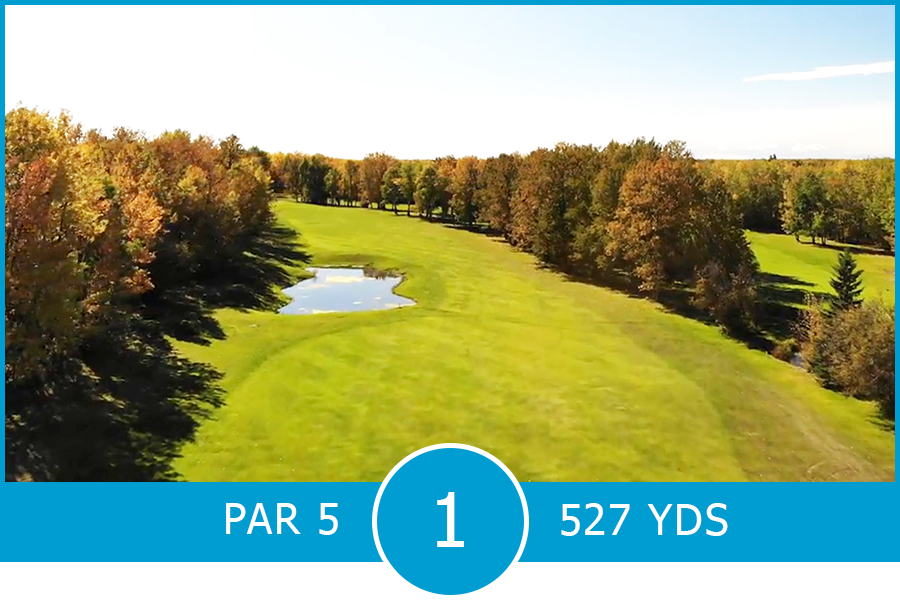
Mature trees outline this slight dogleg left par 5. Be aware that there is water on the left that will require an accurate drive if you plan to carry the hazard to a narrowing fairway. The safe play is to layup short of the water and play it as a three shot hole. The second shot is to lay up to a comfortable yardage for your third shot. Reaching the green in two will require an accurate long iron to an elevated green fronted by a large bunker on the right side. The green slopes from back to front and left to right.
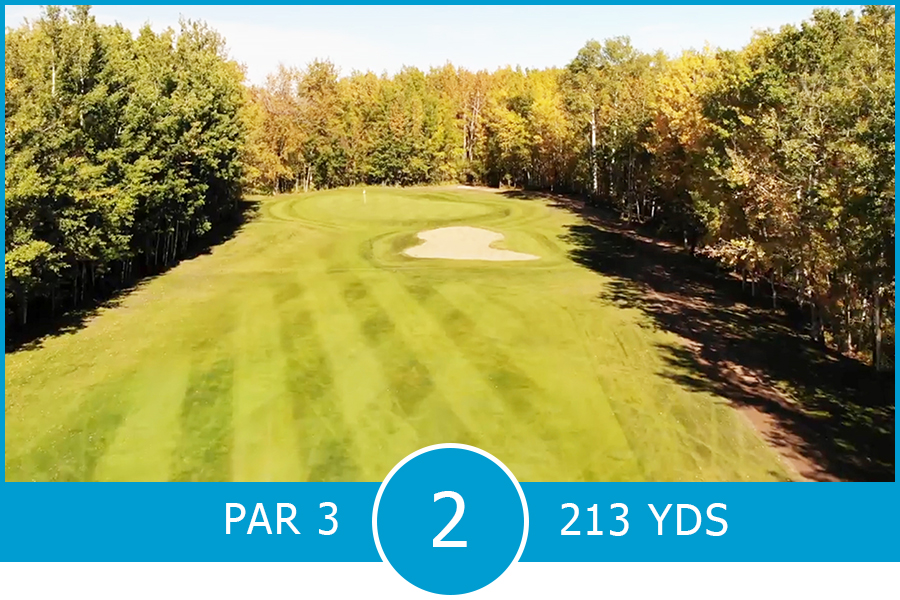
A challenging par three that requires an accurate medium to long iron shot to a green that slopes back to front and right to left. Be sure to take enough club to get back to the pin as there is a false front that is hidden by a large bunker fronting the green.
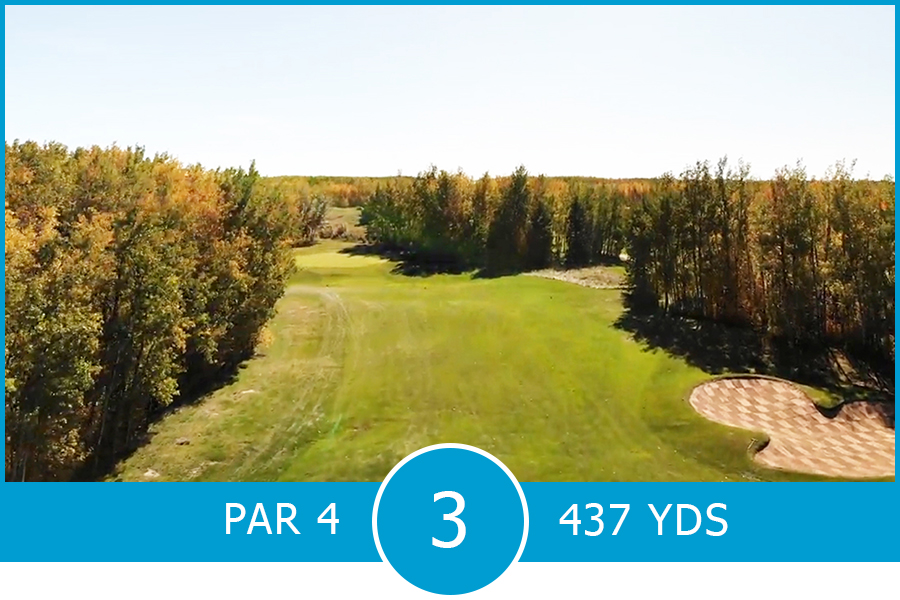
This tree lined medium length slight dogleg par four requires a tee shot slightly left of the fairway bunker on the right side. Be careful to not go too far left with your tee shot as the trees may block your approach to the two-tiered green. This tricky green slopes back to front and mostly left to right.
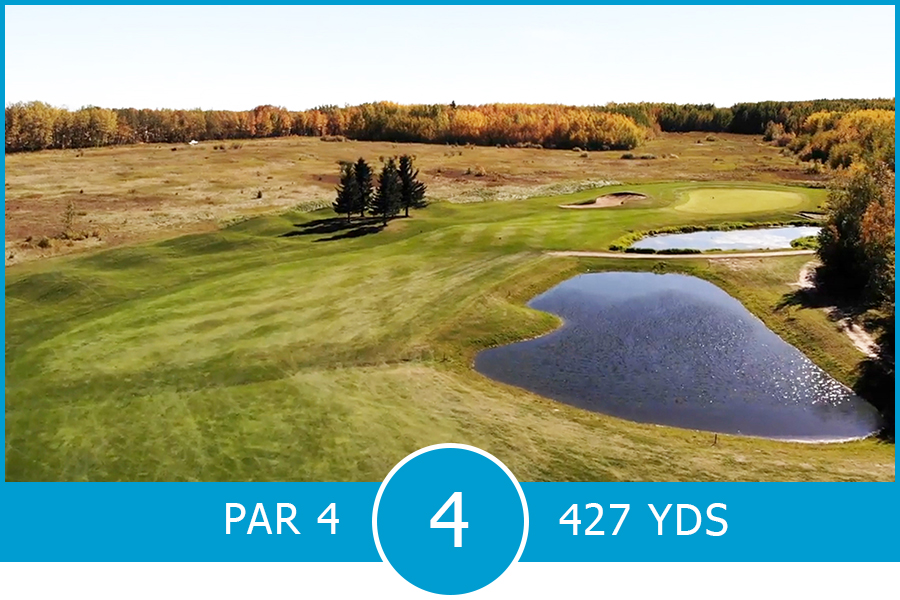
A difficult par four that demands an accurate tee shot just right of the heart shaped fairway trap on the left side. The fairway is also protected by two large water hazards on the right that are not seen from the tee box. The elevated green is protected by water as well as a steep bank that repels balls that try to run onto the green. There are also bunkers right and left of a green that slopes back to front and left to right.
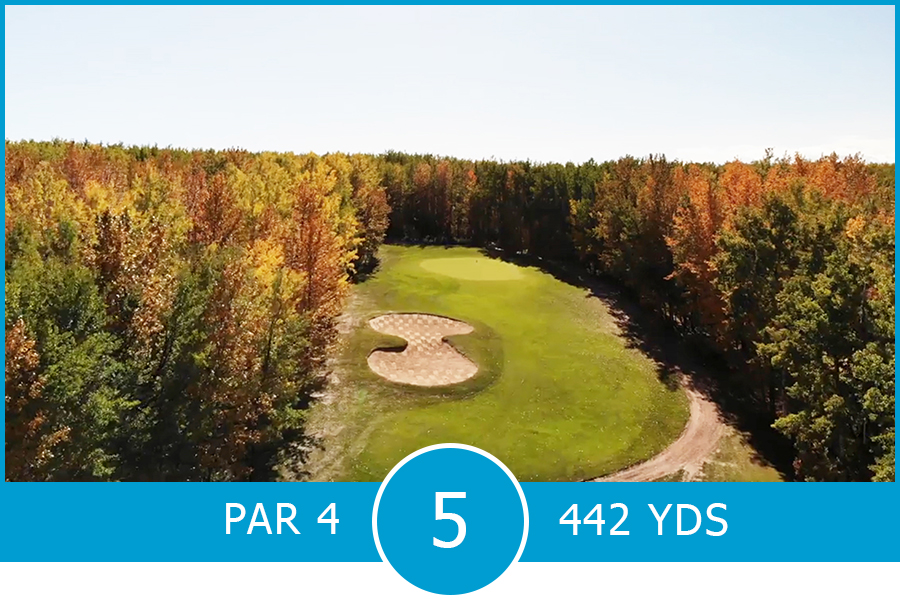
This golf hole may be one of the toughest par fours in Alberta. A dog-leg right with water on the right and a heavily treed fairway frames the length of this scenic hole. A well placed tee shot past the water will leave an uphill approach to a green sloping severely from back to front. You will need to club up to reach the green because of the elevation, but try to leave yourself below the hole with your approach as to not bring a three putt into play.
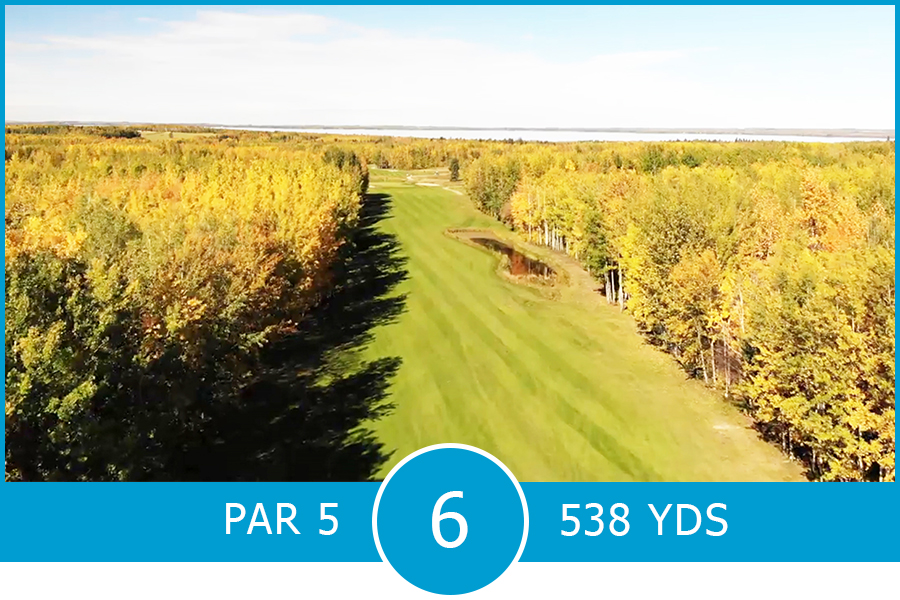
Don’t get caught looking! This picturesque downhill par five can mesmerize the first time player. The elevated tee shot with Pigeon Lake in the background and the tree framed fairway with water on the right requires an accurate shot to the right side of the fairway. Be short of the water to get the most favourable lie for your second shot. If you’re going for the green in two be aware the green is protected by bunkers both right and left to a green that slopes away from the player and left to right.
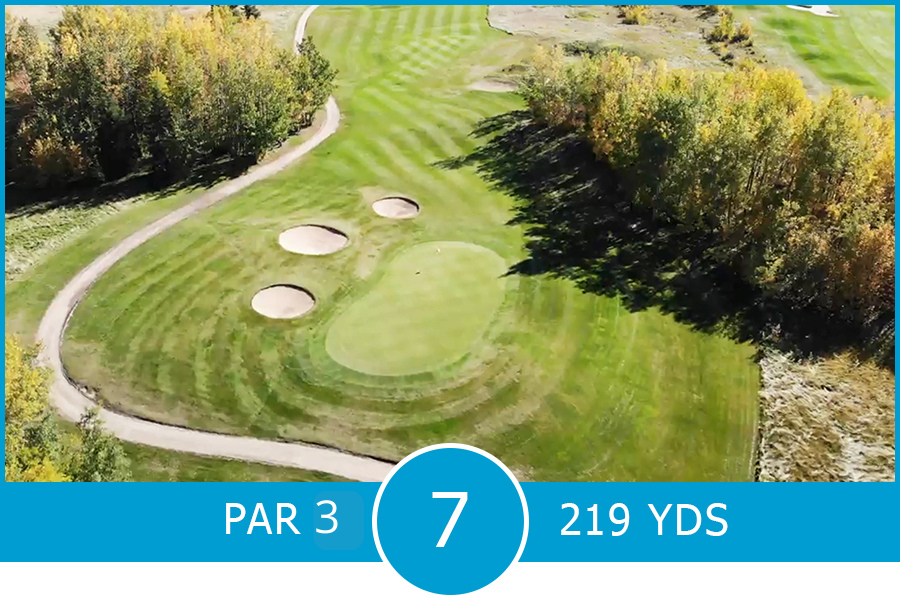
Accuracy is at a premium for this long downhill par three. It is protected by bunkers along the right side and mounding on the right of this very narrow green. Depending on the tee box you are playing from it may require carrying a bunker but be aware that the first half of the green slopes toward the tee shot and the back half slopes away. If you have to miss, miss left of the green for the best chances for an up and down.
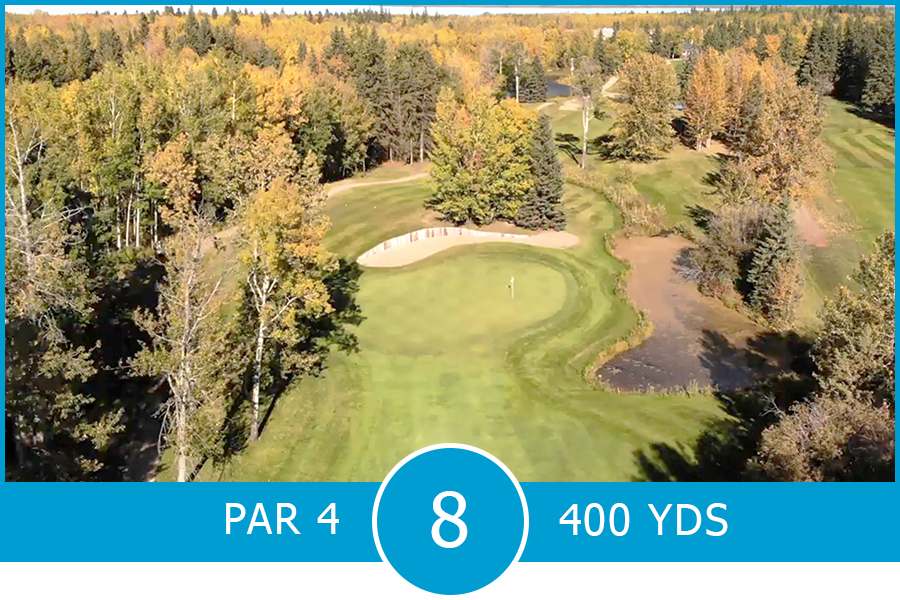
A medium length dogleg right par four. The tee shot is best suited for a left to right tee shot to get the best angle for your approach shot. The green slopes back to front and left to right. It is protected by a large bunker behind and water on the right that is not visible from the fairway.
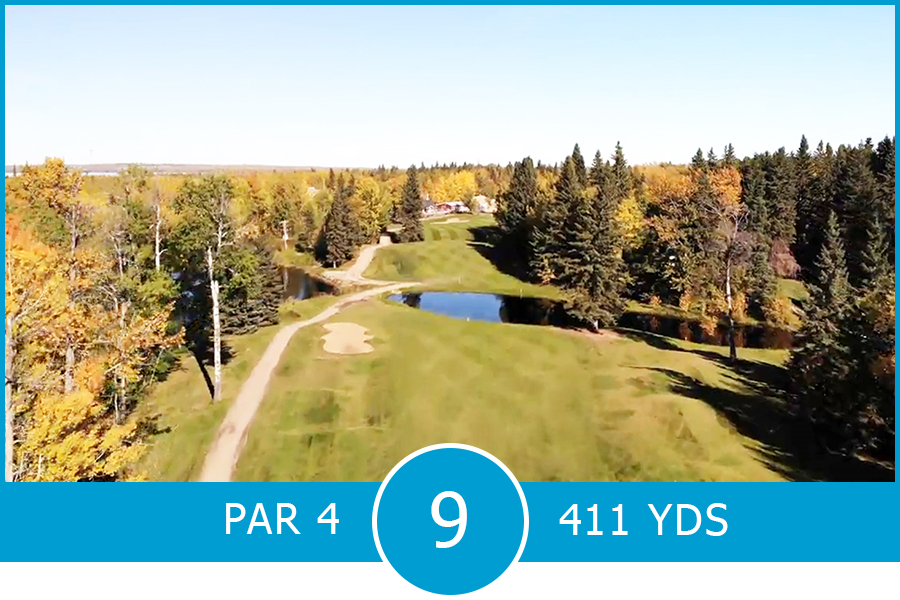
This hole may be the most difficult par four on the course. An incredibly narrow landing area slopes from the tree line on the right towards the water on the left of this well-defined fairway. Whether one is playing from the back or the front tees, a decision will have to be made as to layup or carry the water that bisects the fairway setting up your approach shot. The postage stamp sized green is elevated and protected by deep bunkers both left and right.
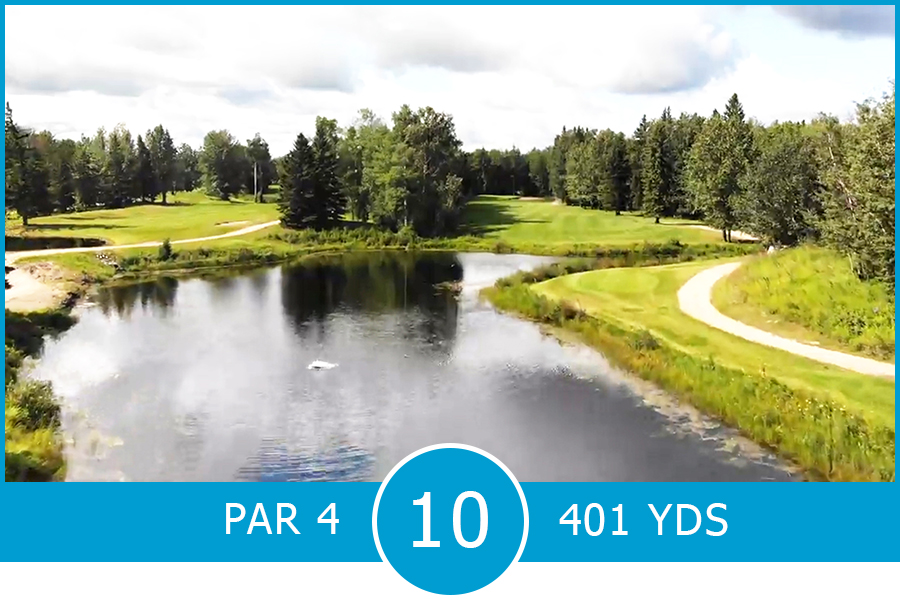
A very well designed golf hole that requires accuracy and different shot shapes. Depending on the players’ chosen tee box it may require a straight ball to a draw shot, but whatever the case you will need to carry it over water. Try and place the tee shot centre left to get the best approach angle. The green is fronted by a large bunker protecting the entire right side of the back to front sloping elevated green. Be aware that hitting over the green on your second shot is a difficult up and down.
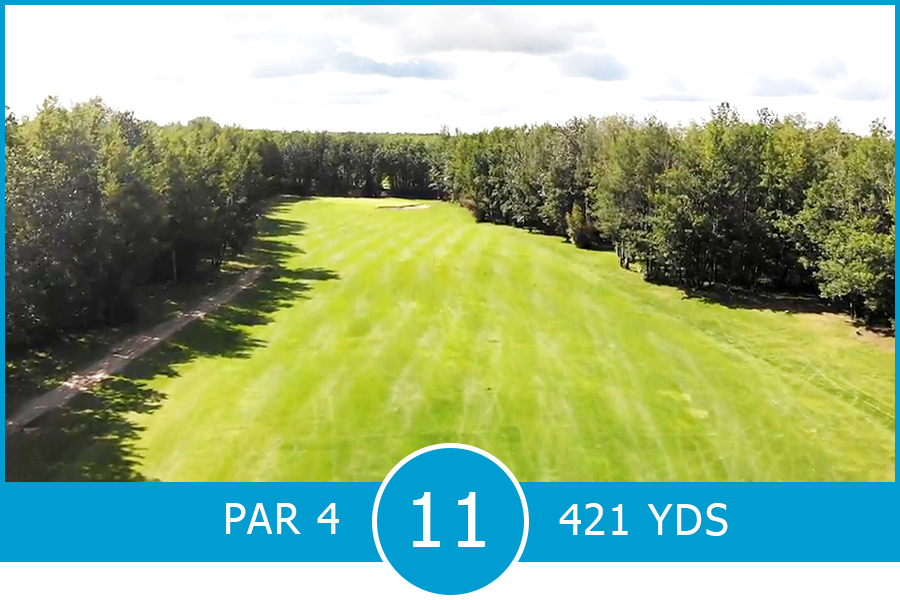
A dogleg left par four. The fairway rises to a second tier the width of the fairway. If your ball stays on the rise, the second shot is much more difficult. One of the larger greens on the course, it is fronted by mounds on the left and a bunker on the right. The green slopes back to front and mostly left to right.
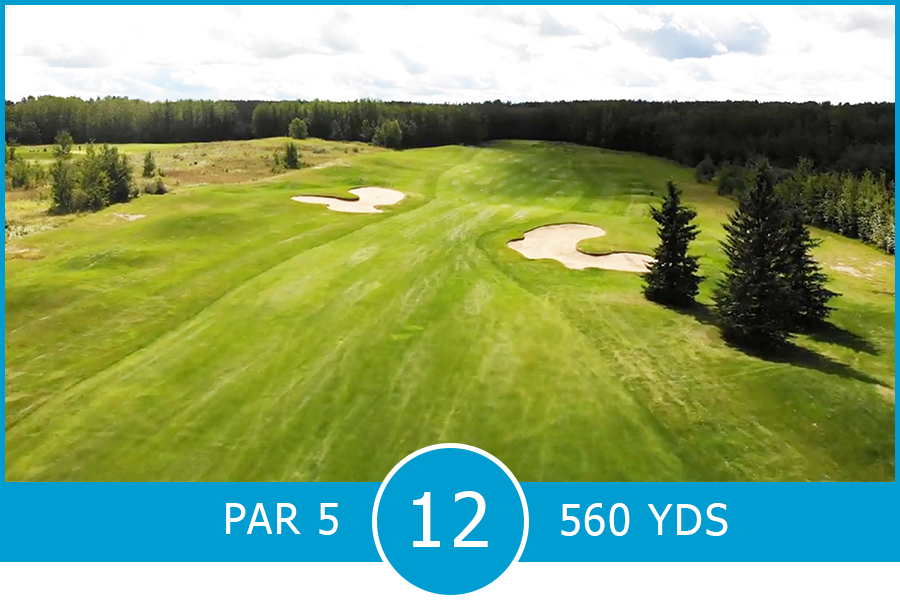
The first of three par fives on the back nine. This uphill slight dogleg right tee shot demands accuracy as the fairway is protected by bunkers both left and right. The second shot requires a decision on the players’ part to not just go for the green but an understanding that the first two thirds of the green is very narrow and crowned. It is difficult to hit with a long iron. Laying up for a short iron approach may be the best option to ensure a green in regulation. The green slopes back to front and left to right. There is a deep grass bunker running the length on the right side of the green that is best avoided if possible.
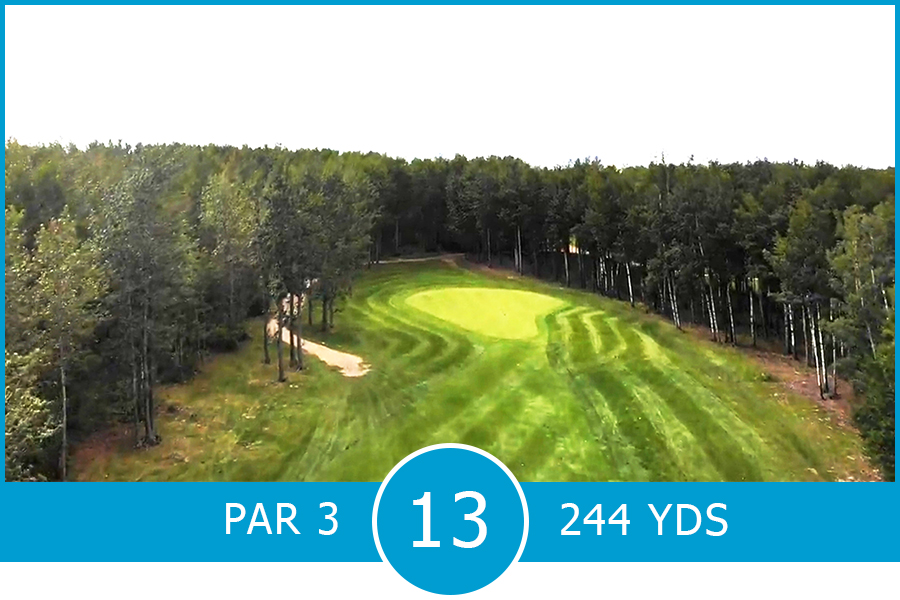
This hole may be one of the most difficult par threes in Alberta. It is an uphill tee shot that is deceiving; it actually plays a club longer than the posted yardage. A triangle shaped green with a narrow front that is severely sloped back to front and left to right. Once on the green, even a short putt requires a players’ utmost attention.
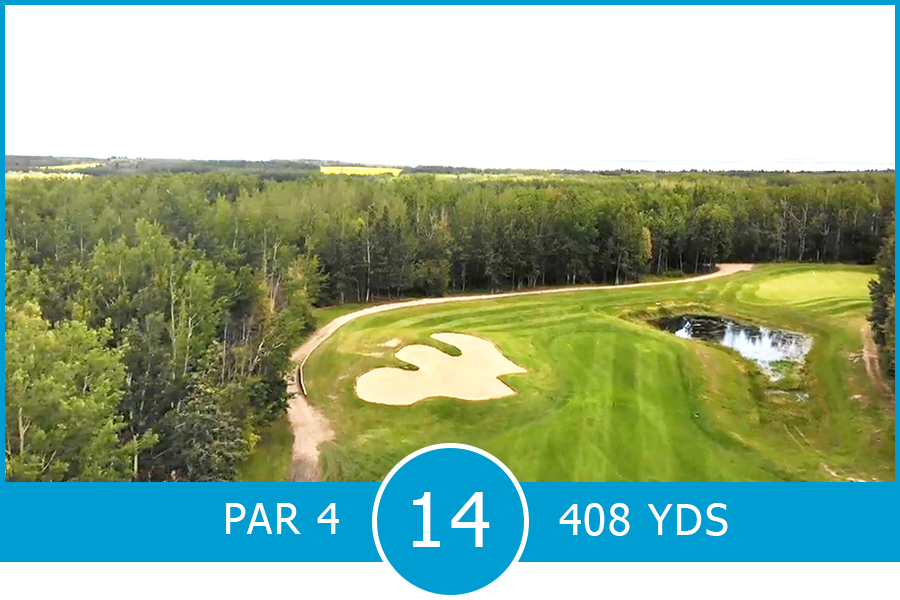
Not a long par four, but don’t be fooled by length. An accurate tee ball to the left centre just short of the fairway bunker will leave you the best angle for your approach shot. The green is fronted by water the width of the green, so choose enough club to make sure you clear the water. The green slopes back to front and the undulations are saddle shaped. Approach shots to left of centre feed off the green and leave a tough recovery shot.
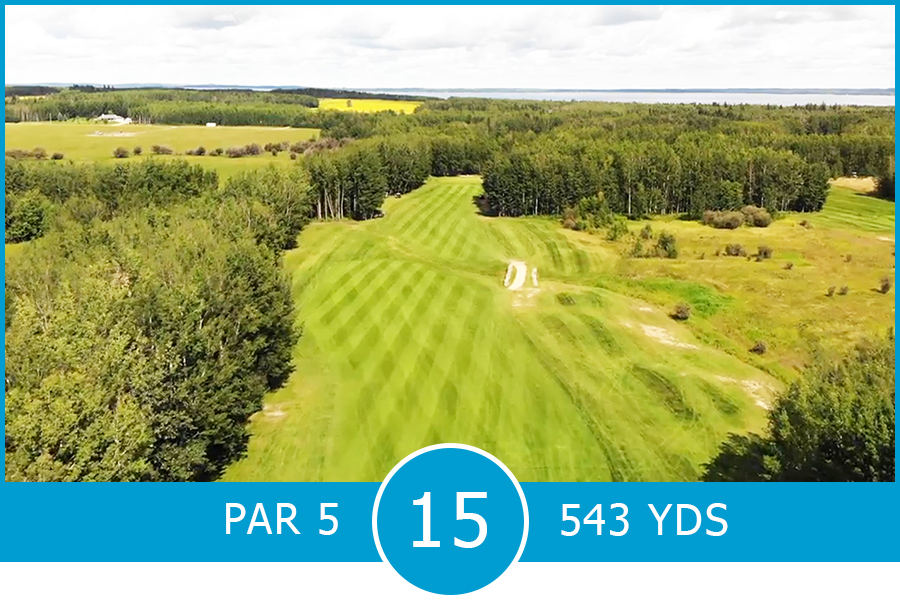
The second of the par fives is a straight away tee shot favoring the right centre of the fairway. Make sure you read the inscription on the bench. Its words of warning should be heeded. “Don’t Go Left”. Failure to follow instructions has ruined many a golfer’s good rounds. The second and third shots are basically straight away. The green slopes right to left and is crowned. Shots to the middle and deeper have a tendency to run to the back of the green.
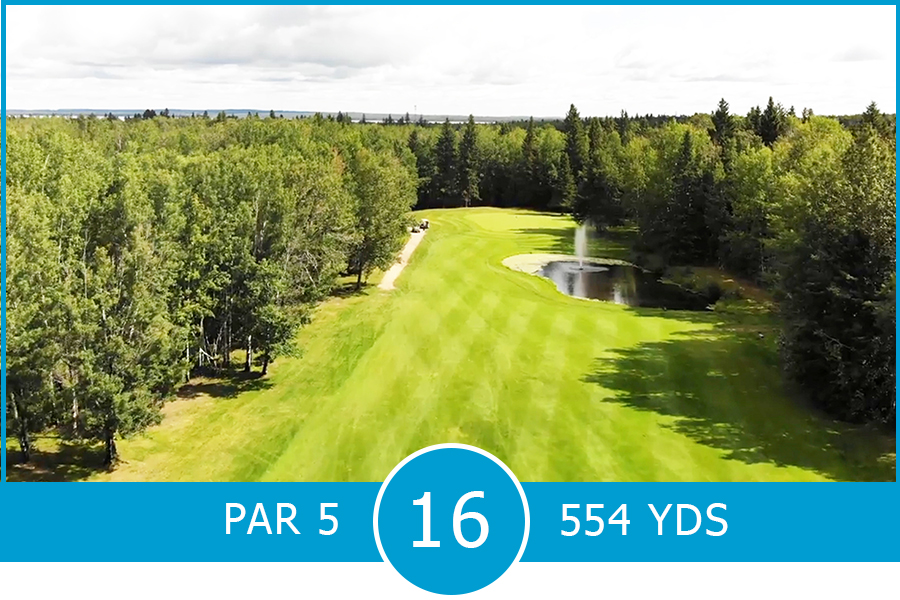
The last of the par fives is a dogleg right. Placing your tee shot left centre creates the best angle for the second shot. There is water that comes into play that begins at about eighty yards from the green, so choose your lay-up distances wisely. The green is deep with subtle undulations that require your close attention when putting. Mostly the green breaks towards the seventeenth green.
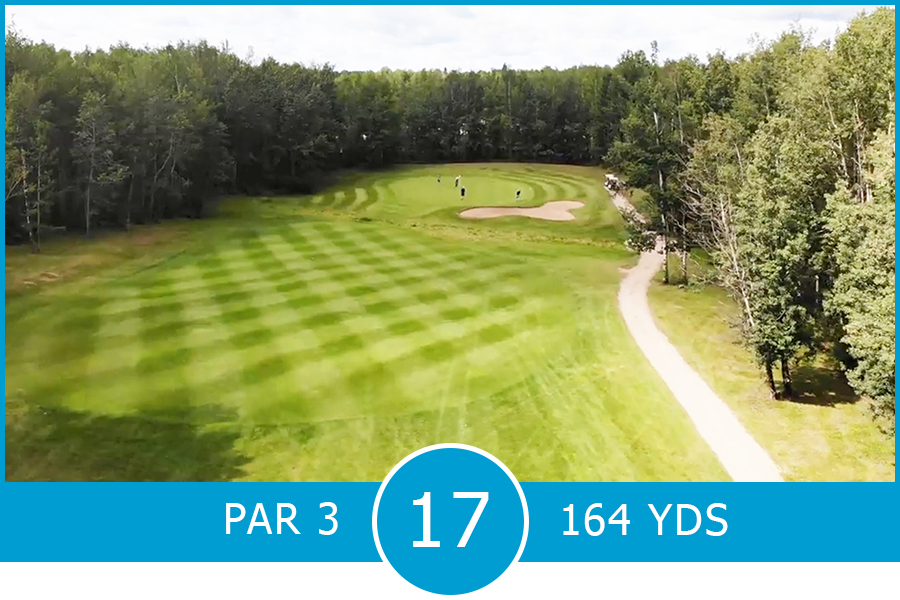
This is the shortest of all the par threes on the course. It may seem like you finally get a break but this hole can sneak up on a player. A short to medium iron to a green protected by a bunker on the right. The green slopes from back to front and left to right.
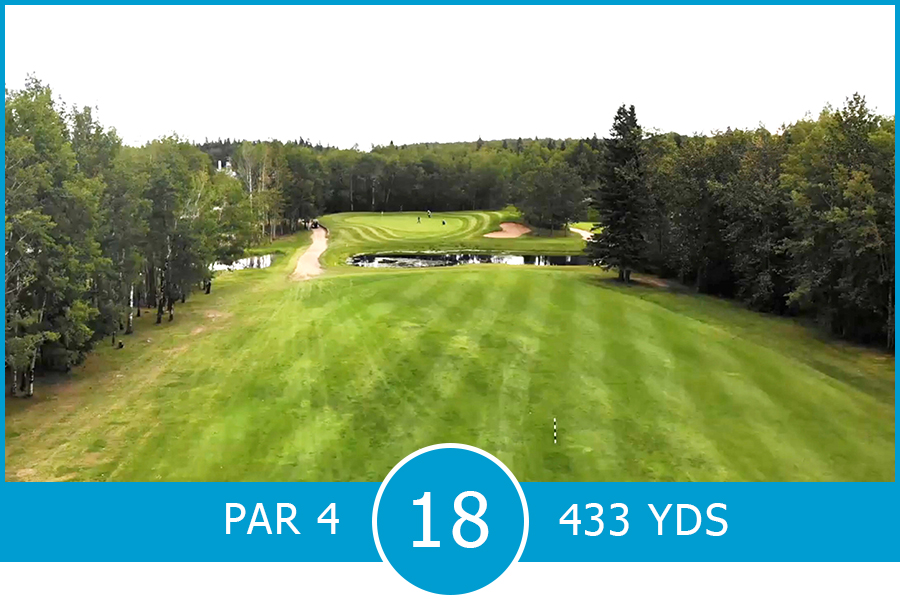
The finishing hole to a great experience. The tee shot is straight away, but try to favour the right-centre as a shot left tends to run to the trees. Water protects the entire front of the green as well as a bunker on the right front. The green slopes back to front and left to right. Try to stay below the flag on your approach for the best opportunity to a make a putt. Shots past the hole become very quick coming back downhill.
Yardage, Rating & Slope Stats
| TEE | YARDAGE | MEN RATING/SLOPE | WOMEN RATING/SLOPE |
| BLACK | 7342 | 75.8 / 131 | 83.4 / 150 |
| BLUE | 6946 | 73.9 / 130 | 81.2 / 146 |
| WHITE | 6536 | 72.0 / 127 | 78.9 / 141 |
| WHITE/GOLD | 6230 | 70.5 / 125 | 76.8 / 139 |
| GOLD | 5947 | 69.5 / 121 | 75.3 / 133 |
| GOLD/RED | 5432 | 66.9 / 115 | 71.8 / 131 |
| RED | 4980 | 64.9 / 109 | 69.3 / 128 |

Follow Us
Find out what's new at the Black Bull Golf Resort on our social media channels
